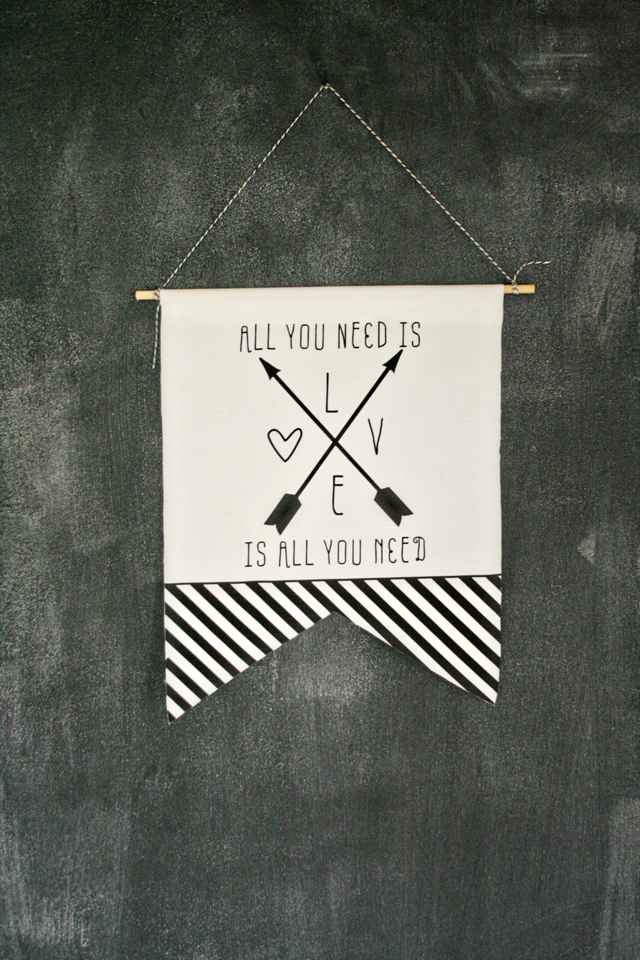
i had the sweet privilege of designing a family photo card for my homegirl jaimie this past holiday season. she had sent me a darling picture of her 2 boys and wanted the theme to be “all you need is love”. so i cooked up a fun design that included the text and arrows you see below. the card turned out supa cute, and i couldn’t wait to use the design again…

… and decided to turn it into a n o – s e w f a b r i c b a n n e r you can D I Y .
the project took about 15 minutes with 30 minutes of drying time.
S U P P L I E S : you’ll need a fat-quarter of our design on spoonflower here (or get a yard and make 4), fabric glue, no-frey fabric sealant, small dowel, a q-tip, and twine or ribbon for hanging.

D I R E C T I O N S :
1. cut the banner from the fat quarter of fabric and iron if needed.
2. follow the directions on the no-fray sealant and let dry. meanwhile cut the dowel a little wider than the banner (i used a steak knife…. prob not the best, but is worked!).

3. turn the banner face down and lay the dowel on top about an inch from the top. then squeeze a line of fabric glue an inch below that, smear with a q-tip and fold the fabric down over the dowel, leaving a little wiggle room. press down along the glue and let dry.

4. then, all that’s left is to cut and tie twine to each end of the dowel….
… and find the perfect place to hang it!

if you like the design, but aren’t up for a DIY, you can find a similar art print in our etsy shop, (HERE).
if you like the banner idea, or want to see more designs or maybe a template to make your own design or use with a patterned fabric, let us know in the comments!
Leave a Reply